Creating a New Database
To create a new database, select the Databases node in the navigation tree
control; then, select the + New Database icon located in the upper-right
corner of the page. When the Create New Database dialog opens, use the
fields to define your database.
-
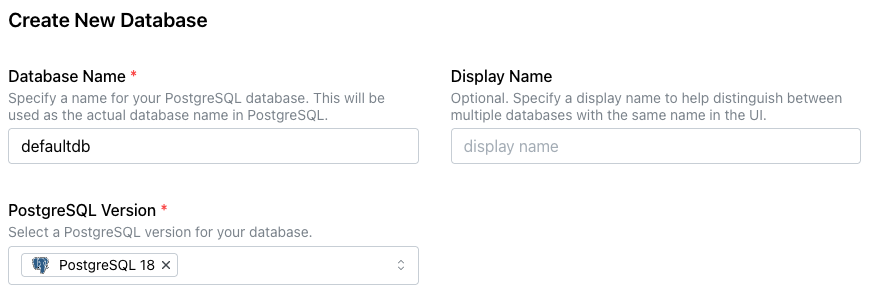
Provide a name for the database in the
Database Namefield. -
Optionally, provide a
Display Nameto identify the database in the navigation tree control. If you have more than one database with the same name, aDisplay Namecan help you easily identify each database in the navigation tree control. -
Use the
PostgreSQL Versiondrop-down to select the version of Postgres that you would like to install.
Next, the dialog displays your clusters and their deployment regions. Use the
Show Map toggle to display or hide a map of node locations.
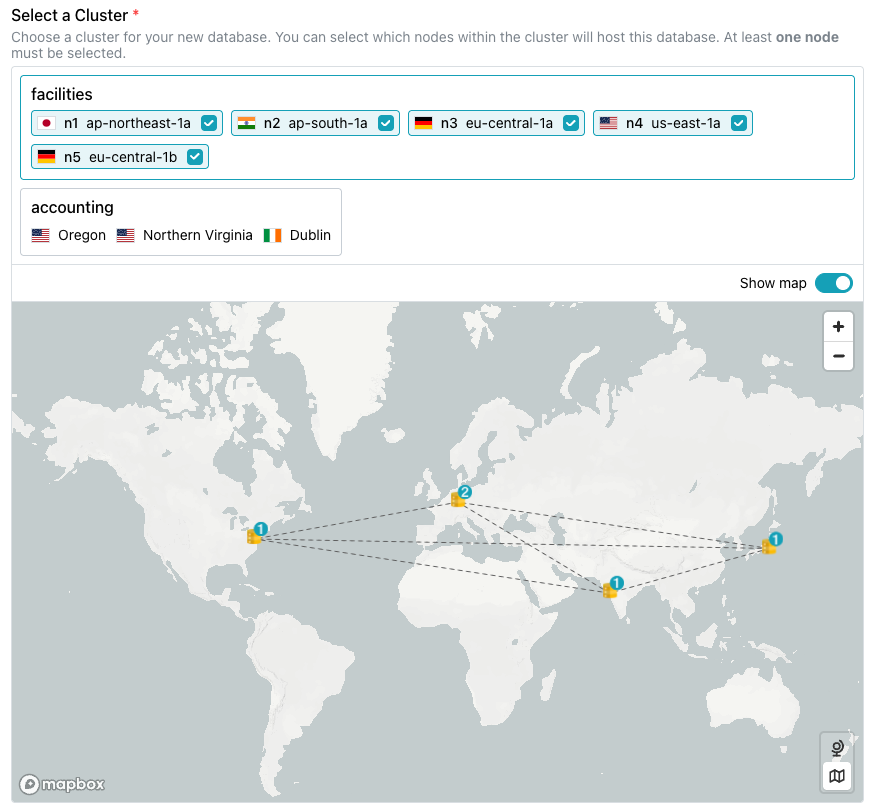
Highlight the cluster you would like to host your new database from the panes
displayed under Select a Cluster. Then, use the checkboxes in each host's
selector to indicate if the database should be deployed on that host; remove
the check if the database should not deploy in a specific location.
The Backup Configuration pane allows you to customize the configuration you
wish to use for your Enterprise Edition database backups.
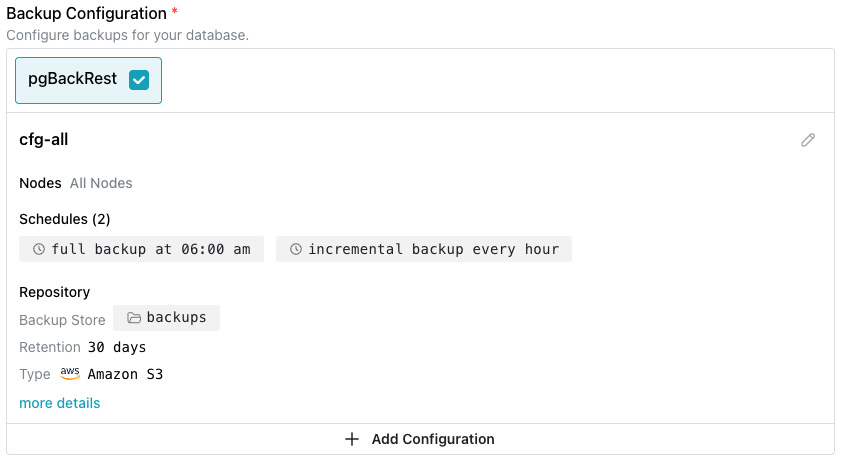
Use fields in this section to customize the backup strategy; select the edit
icon (a pencil) in the upper-right corner to modify backup settings. The
default configuration defines a schedule that includes a daily full backup,
with hourly incremental backups. Use the Add Configuration button to
create a custom schedule for your database.
Note
You cannot modify a backup configuration or your selected database backup provider after database deployment.
The Options section displays optional features you can enable when your
database is provisioned:
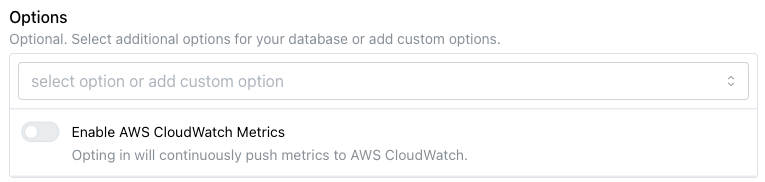
- Use the toggle switch next to
Enable AWS CloudWatch Metricsto share metrics with AWS CloudWatch.
Use the Services section to add an MCP server to your installation. Currently, MCP server functionality is supported only on private clusters with a defined ingress.
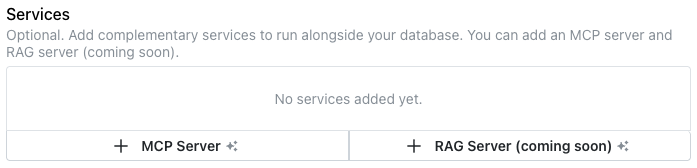
Select the button labeled + MCP Server to add MCP server details for your database; for more information about adding or managing a service in the cloud, see [Adding pgEdge AI Tookit Functionality(../services.md)].
Select the Add MCP Server button to access the Add MCP Server popup and define an MCP server, and optionally enable an associated LLM.

Use fields on the Add MCP Server popup to describe the server and optionally, the LLM:
-
Click the
Select Hostfield to select the node that the MCP server will be provisioned on; you can deploy the MCP server on each node of your cluster, but each MCP server deployment must be individually defined. -
Use the
API Tokenfield to provide the string used to authenticate with your MCP server; this is a user-created value. -
Slide the
LLM Enabled?toggle switch to enable the LLM detail fields. -
Use the LLM Provider drop-down to select your AI provider; currently, Cloud supports the following AI providers:
- Anthropic AI (Claude)
- OpenAI (ChatGPT)
- Ollama
-
Enter the model name of the LLM provider; this field is not validated, but must match the name of an available model. For example, the following models are supported:
- claude-sonnet-4-6
- gpt-4o
- llama3.1
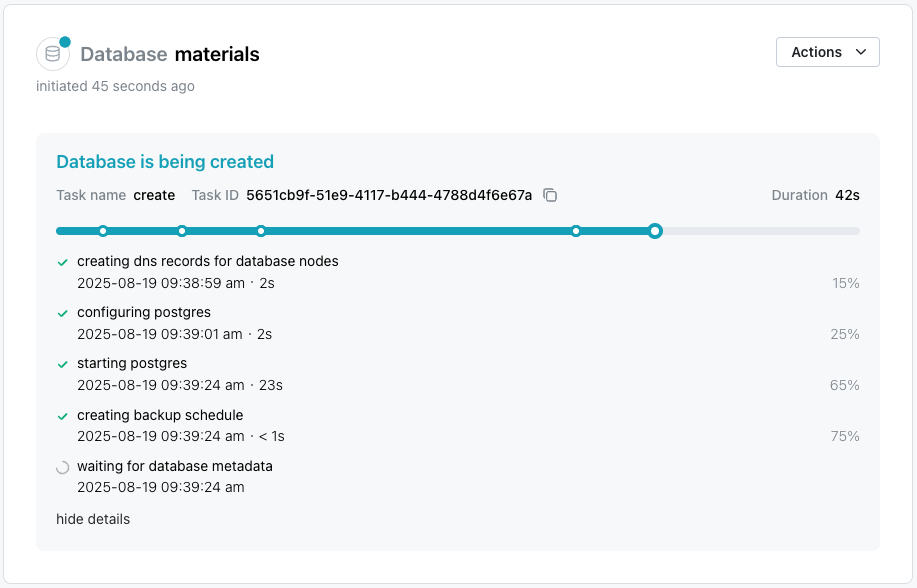
After making your selections, click Create Database to initialize a
Postgres database and start replicating data between the nodes in the
cluster. Your new database is added to the list of databases in the left pane
of the console; a green dot to the left of the name indicates that the
database is available for connections.