Creating and Managing AI Toolkit Services
pgEdge Cloud databases can be deployed with an installed and configured
MCP server, ready for connections. After deployment, use the Services
page to open the Add MCP Server popup to add AI functionality to an
existing cluster or to manage defined functionality.
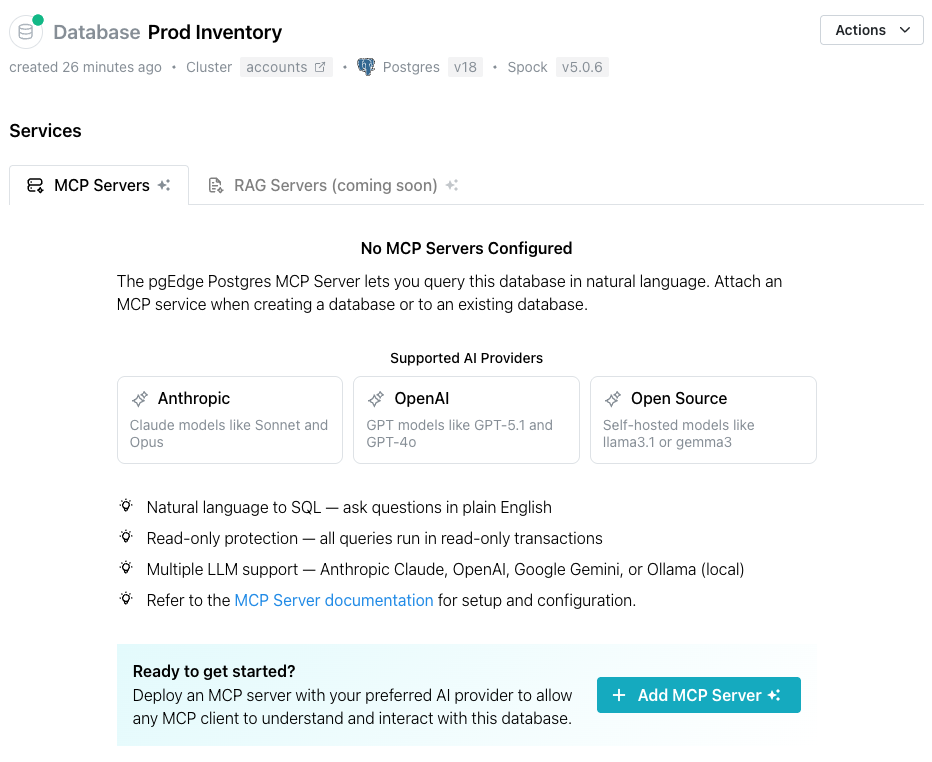
Select the Add MCP Server button to access the Add MCP Server popup
and define an MCP server, and optionally enable an associated LLM.
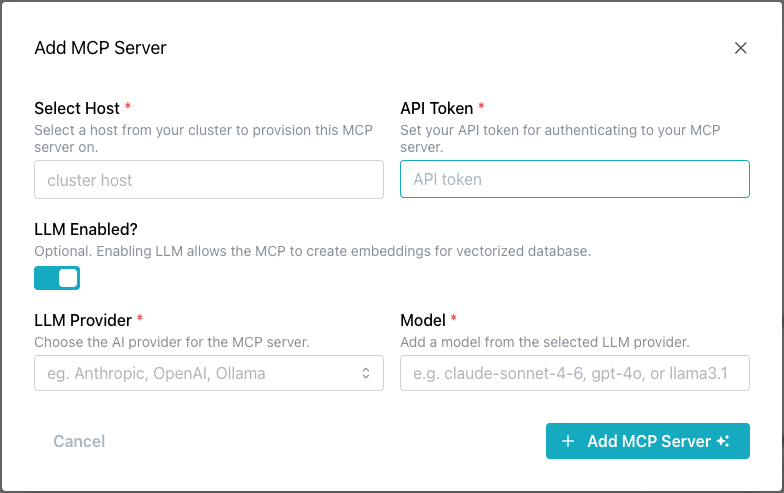
Use the fields on the Add MCP Server popup to describe the server
and, optionally, the LLM:
-
Click the
Select Hostfield to select the node that the MCP server will be provisioned on. You can deploy the MCP server on each node of your cluster, but each MCP server deployment must be individually defined. -
Use the
API Tokenfield to provide the string used to authenticate with your MCP server; this is a user-created value. -
Slide the
LLM Enabled?toggle switch to enable the LLM detail fields. -
Use the
LLM Providerdrop-down to select your AI provider. pgEdge Cloud currently supports the following AI providers:- Anthropic AI (Claude)
- OpenAI (ChatGPT)
- Ollama
-
Enter the model name of the LLM provider. This field is not validated, but must match the name of an available model. For example, the following models are supported:
- claude-sonnet-4-6
- gpt-4o
- llama3.1
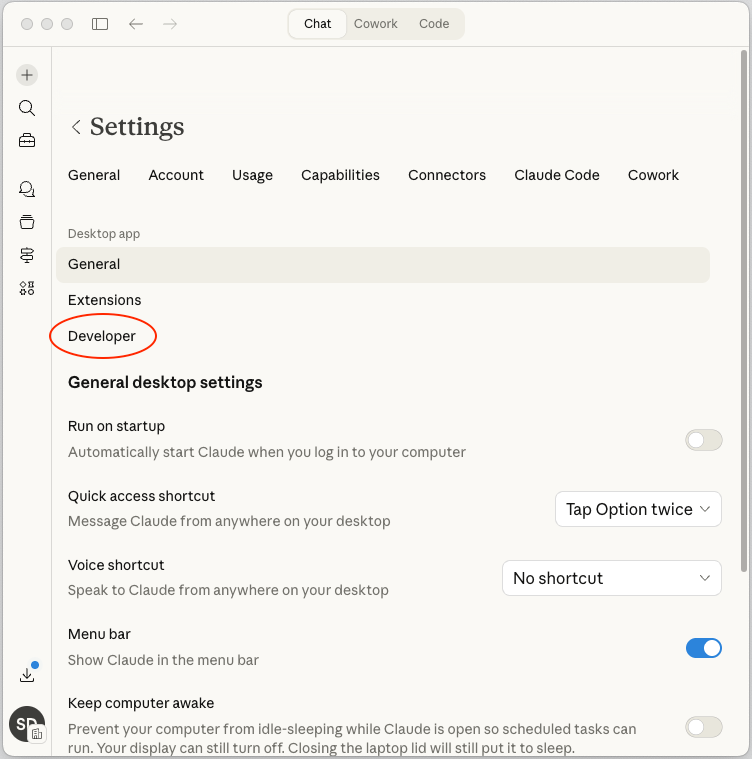
Connecting a Client to the MCP Server
The steps you use to connect a client to the MCP server vary by client and platform. The example below uses the pgEdge Postgres MCP Server and connects to the Claude Desktop application on a Mac. Consult your client's documentation for detailed instructions.
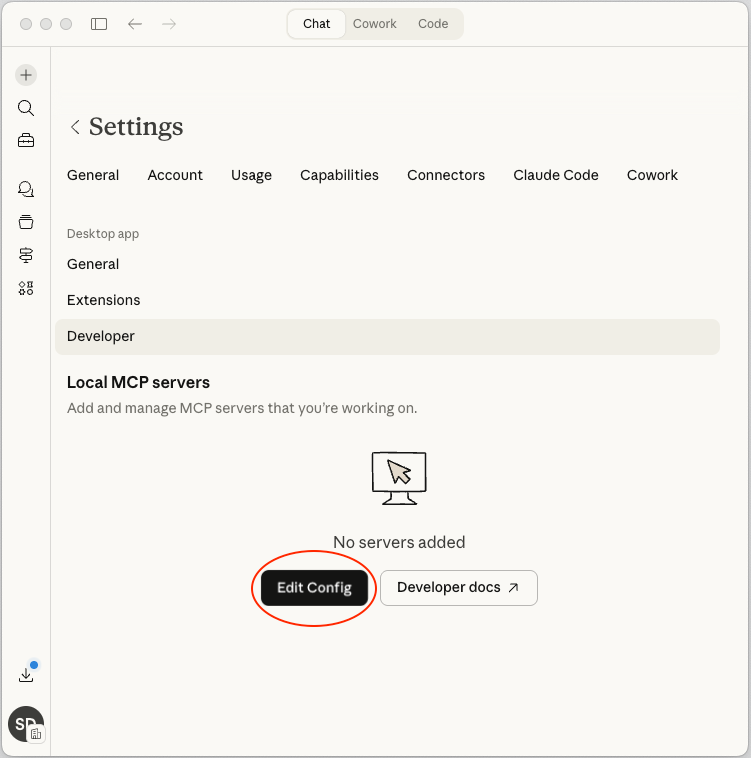
After installing the Claude Desktop client, open the Claude Settings
dialog (Claude --> Settings). Select Developer to configure a
local MCP server:
Select the Edit Config button to open a file browser window, then
open the claude_desktop_config.json configuration file.
When the configuration file opens, add your connection details to the
mcpServers section:
{
  "preferences": {
    "coworkWebSearchEnabled": true,
    "ccdScheduledTasksEnabled": true,
    "sidebarMode": "chat",
    "coworkScheduledTasksEnabled": true
  },
  "mcpServers": {
    "pgedge-appdb": {
      "command": "/Users/sdouglas/.nvm/versions/node/v20.19.4/bin/npx",
      "args": [
        "mcp-remote",
        "connection_string_to_mcp_server",
        "--transport",
        "sse",
        "--allow-http",
        "--header",
        "Authorization: authentication_string"
      ]
    }
  }
}
Replace the following placeholders with your actual values:
- Replace
connection_string_to_mcp_serverwith your database connection string. To connect to a private cluster, create a public ingress for the connection. - Replace
authentication_stringwith the authentication string provided in the API token field.
Note
After updating the configuration file with details about your MCP server, restart the Claude client for the changes to take effect.
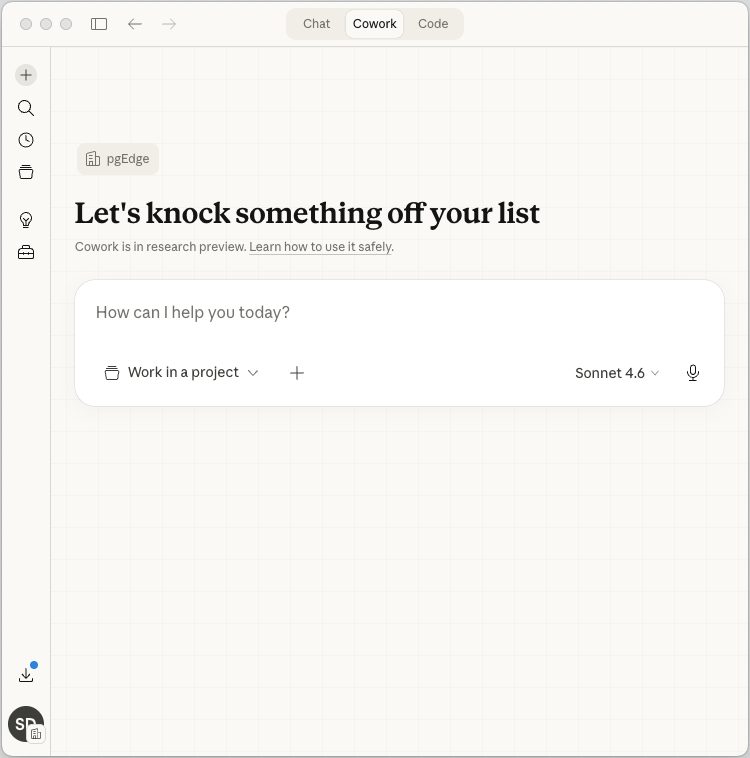
After restarting the Claude client, you can query your database from the Claude client.
Creating a Public Ingress
If your cluster was created as a private cluster (without a public-facing IP address), you need to create a public ingress for connections to the MCP server.
To access a list of available ingresses or to create a public ingress,
navigate to the Services page via the link under the database name in
the navigation panel.
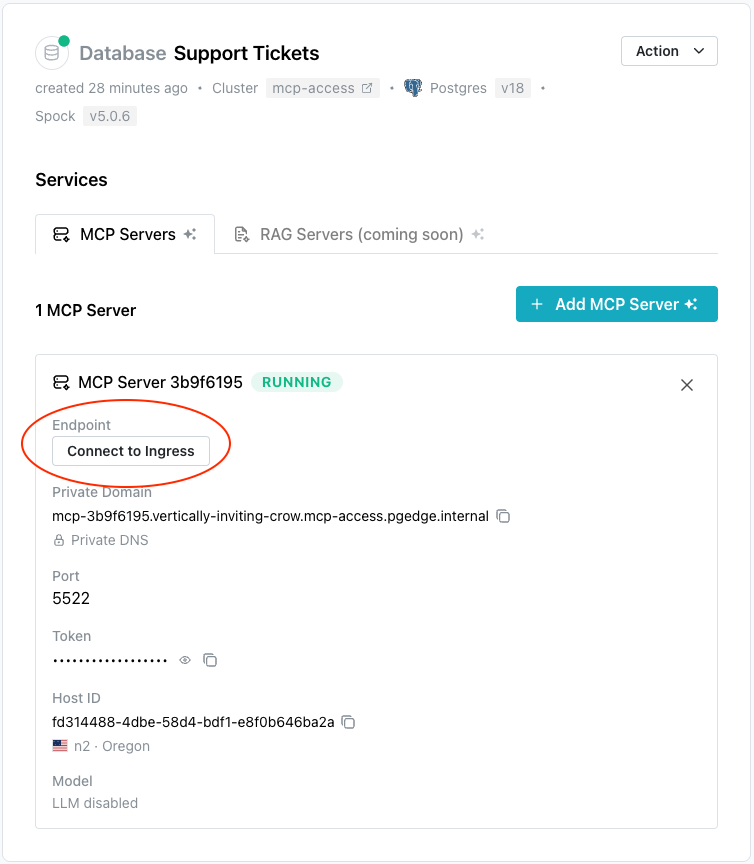
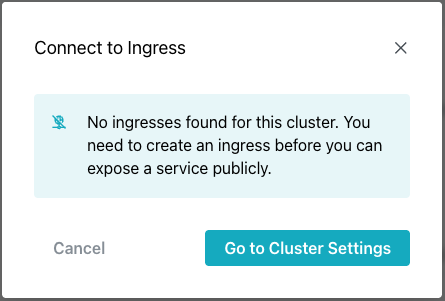
Select the Connect to Ingress button. If no healthy ingresses exist
for the current cluster, the Connect to Ingress popup opens; use the
Go to Cluster Settings button to edit the cluster and create an
ingress.
When the cluster dialog opens, scroll to the Network Ingresses section
and select the + Add Ingress button. Use the following fields to
configure the ingress:
- Provide a name for the ingress in the
Namefield. - Use the
Regiondrop-down to select the region the ingress will use for connections. If you have multiple nodes in the selected region, connections will be managed with a connection pooler and load balancer.
After providing ingress details, select the + Create Ingress button
to create the ingress and add it to the list of ingresses.